
Stuck with a design that looks good on screen but fails in real life? Choosing the wrong method or material for your plastic prototype ruins your testing and wastes your budget.
To get a plastic prototype made, you can choose 3D printing, CNC machining, or vacuum casting. For functional parts, CNC machining using production-grade plastics is the best way. Start by preparing a 3D CAD file and sending it to a reliable manufacturer like Ranglink for a professional quote.
I see many purchasing managers like Alex struggle when their first batch of prototypes arrives. They often look perfect but break during the first stress test1. This usually happens because the wrong manufacturing path was chosen. At Ranglink, we believe that a prototype is only useful if it behaves like the final product. Transitioning from a digital design to a physical part requires a clear understanding of materials and processes. If you skip the details now, you will pay for it later in the production cycle. Let us look at how you can make the right choices for your project.
What are the 7 main types of plastic?
Do you feel overwhelmed by the endless plastic options available today? Picking the wrong material means your prototype might crack under pressure or melt during a simple heat test.
The seven main types of plastics include PET, HDPE, PVC, LDPE, PP, PS, and “Other” (like ABS or Polycarbonate). For industrial prototypes, ABS and PC are most common. Each type has different strengths, heat resistance, and flexibility levels that affect how your final product performs.
When I talk to clients, they often ask for “just plastic.” But in my 20 years at Ranglink, I have learned that “plastic” is a very broad term. The standard recycling codes2 help us categorize them, but for engineering, we look deeper. Most consumer goods use the first six types, but high-performance parts often fall into the seventh category. For example, if you are building a housing for electronics, you might need ABS3 for its impact resistance. If you need something clear and strong, Polycarbonate4 is the way to go.
Understanding these materials is the first step in avoiding a prototype failure. I always tell my team that we must match the material to the environment where the part will live. If the part needs to touch chemicals, HDPE or PP might be better than standard resin.
Common Plastics in Engineering and Prototyping
| Resin Code | Name | Common Uses | Prototype Method |
|---|---|---|---|
| 1 | PET | Water bottles, food jars | Rarely machined |
| 2 | HDPE | Milk jugs, piping | CNC Machining |
| 3 | PVC | Pipes, cable insulation | CNC Machining |
| 4 | LDPE | Plastic bags, squeeze bottles | Injection Molding |
| 5 | PP | Car parts, containers | CNC / Molding |
| 6 | PS | Packaging, disposable cutlery | CNC Machining |
| 7 | Others (ABS/PC/Nylon) | Tech housings, gears, lenses | CNC / 3D Printing |
Beyond these seven, we often work with specialty materials like POM (Acetal)5 or PEEK6. These are fantastic for mechanical parts because they are very stable. When I handle a CNC-machined POM part, I can feel the difference in quality compared to a cheap 3D print. It feels like a real product because it is made from the same solid block of material used in mass production.
How do I get a prototype of something made?
Are you tired of suppliers who don’t understand your technical drawings? A bad prototype process leads to delays and parts that simply don’t fit your assembly, costing you precious time.
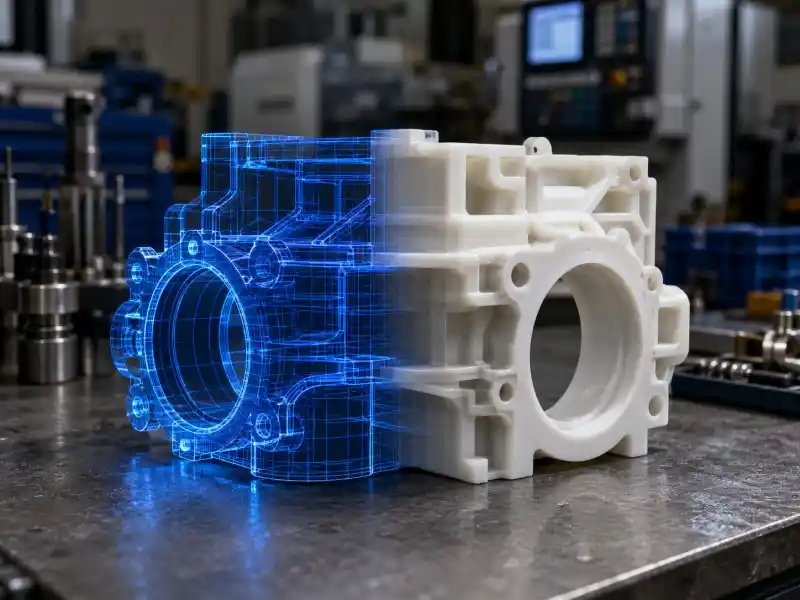
You get a prototype made by converting your idea into a 3D CAD model, selecting the right material, and choosing a manufacturing process. CNC machining is often better than 3D printing for functional tests because it uses real, production-grade plastics rather than specialized resins or filaments.
Many people think 3D printing is the only way to make a prototype. I disagree. While printing is fast, it often uses materials that do not match the strength of the final product. If you are doing functional testing, you should use CNC machining. At Ranglink, we use CNC machines to carve your part out of a solid block of plastic. This gives you a part that is identical in strength and feel to the one you will eventually mass-produce.
The process starts with your CAD file. I recommend using STEP7 or IGES8 formats. Once I have your file, I look at the geometry to see if it can be machined. Sometimes, a small change in the design can save you hundreds of dollars in labor. We check for deep holes or sharp internal corners that a drill cannot reach. After we agree on the design, we pick the material. My insight is simple: do not use cheap printing materials for functional tests. It is a waste of time. If the material cannot handle the heat or stress of the test, the data you get is meaningless.
Comparing Prototyping Methods
| Feature | 3D Printing (SLA/FDM) | CNC Machining | Vacuum Casting |
|---|---|---|---|
| Material Quality | Lower (Resins/Filaments) | High (Production Grade) | Medium (PU Resins) |
| Accuracy | Moderate | Very High | High |
| Surface Finish | Rough/Visible Layers | Smooth/Polished | Excellent |
| Strength | Weakest | Strongest | Moderate |
| Best For | Visual Mockups | Functional Testing | Small Batches (10-50) |
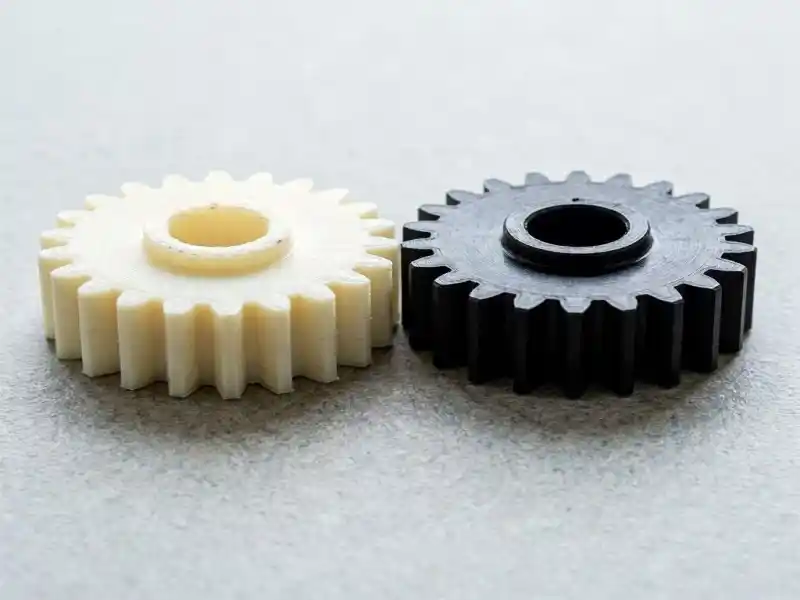
I once had a customer who printed a gear in basic resin. It looked great, but it snapped the moment they turned on the motor. We remachined it from a block of Nylon at our Shenzhen facility, and it worked perfectly for months. That is the power of using the right process from the start.
How much does it cost to get a prototype built?
Worried about hidden fees and surprise costs in your prototyping quote? Many buyers chase the lowest price only to pay double when the first batch of parts arrives unusable and late.
A plastic prototype typically costs between $100 and $2,000 depending on complexity, material, and method. The most cost-effective approach is providing clear requirements upfront. This avoids rework and ensures the manufacturer understands your tolerances and functional needs from the very first quote.
I often see buyers like Alex spend days searching for the absolute lowest price on the internet. This is usually a mistake. The “cheapest” supplier often misses the details, leading to parts that are out of tolerance. In my experience, the best way to save money is to be crystal clear about your requirements the first time. Tell me exactly what the part does, where it fits, and what tolerances are critical. This allows my engineers to optimize the machining path and reduce waste.
Cost is driven by three main things: material price, machine time, and manual labor. A complex part with many internal features takes longer to program and cut. High-performance plastics like PEEK are much more expensive than ABS. Also, finishing work like polishing or painting adds to the total. If you need a simple test part, leave it with a “machine finish” to save money.
Prototype Cost Breakdown
| Factor | Low Cost Option | High Cost Option | Impact on Price |
|---|---|---|---|
| Material | ABS / PLA | PEEK / Ultem | 5x to 20x increase |
| Complexity | Simple Cubes/Plates | Complex Undercuts | 3x to 5x increase |
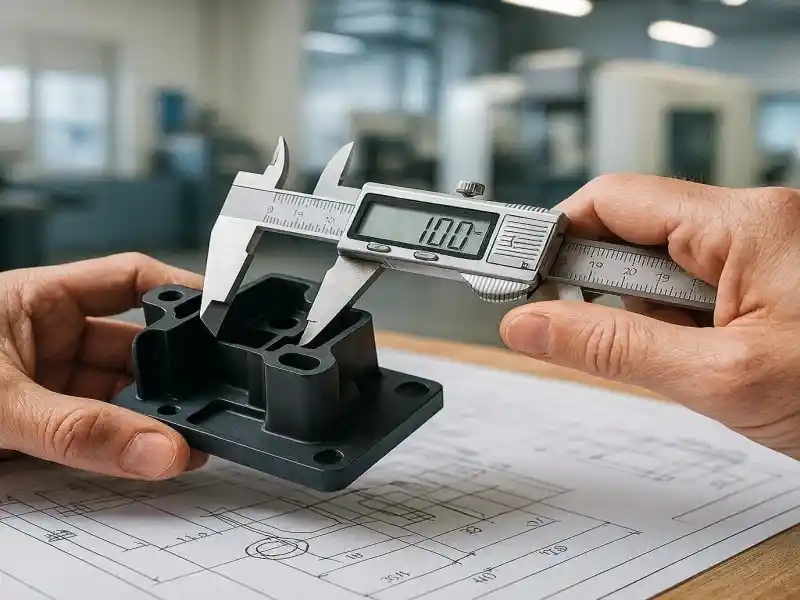
| Tolerance | Standard (+/- 0.1mm) | Tight (+/- 0.01mm) | 2x to 3x increase |
| Quantity | 1 Piece | 5-10 Pieces | Unit price drops |
At Ranglink, we focus on being a long-term partner. I would rather give you a fair price for a part that works than a “cheap” price for a part that fails. When you send an inquiry, include a 2D drawing with your 3D model. Highlight the important dimensions. This clarity prevents mistakes and saves you more money than any discount ever could. We have over 100 machines ready to help you get it right the first time.
Conclusion
Success in prototyping comes from choosing production-grade materials and clear communication. Avoid the lowest-price trap and focus on quality to ensure your final product works exactly as intended.
Ready to Bring Your Prototype to Life?
Don’t let the wrong material or manufacturing process delay your project. At Ranglink, we specialize in turning your 3D CAD models into functional, production-grade physical parts that behave exactly like the final product.
Whether you need a single CNC-machined test part or a small batch of vacuum-casted prototypes, our engineering team is here to help you get it right the first time.
Send us your STEP or IGES files today for a free, professional review and quote:
- ✉️ Email: rang@ranglink.com
- 💬 WhatsApp: +86 17338532394
Partner with Ranglink — Let’s build something that works.
- Wikipedia article detailing stress testing in materials and engineering.
- Wikipedia article explaining resin identification codes used for plastics.
- Wikipedia article on Acrylonitrile butadiene styrene (ABS) properties and uses.
- Wikipedia article detailing Polycarbonate polymers.
- Wikipedia article on Polyoxymethylene (POM), also known as acetal.
- Wikipedia article on Polyether ether ketone (PEEK) characteristics.
- Wikipedia article defining the ISO 10303-21 standard for STEP CAD files.
- Wikipedia article explaining the Initial Graphics Exchange Specification (IGES) file format.