
Are you struggling to turn your bold 4×4 design sketches into high-performance metal parts? Many shop owners face high costs, poor fitment, or slow suppliers that delay their custom builds.
To get custom 4×4 parts machined, you need to provide a 3D CAD model (STEP format), specify materials like 6061 or 7075 aluminum, and define critical tolerances. Finding a CNC partner who specializes in small batches and DFM feedback ensures your parts fit perfectly and handle off-road abuse.
Starting a custom project feels exciting until you hit a wall with manufacturing technicalities. Most engineers and shop owners worry about whether their designs are actually “machinable” or if the final cost will destroy their project budget. I have seen many great designs fail because of simple communication gaps between the designer and the machine shop.
How do I turn my custom 4×4 CAD designs into real machined parts?
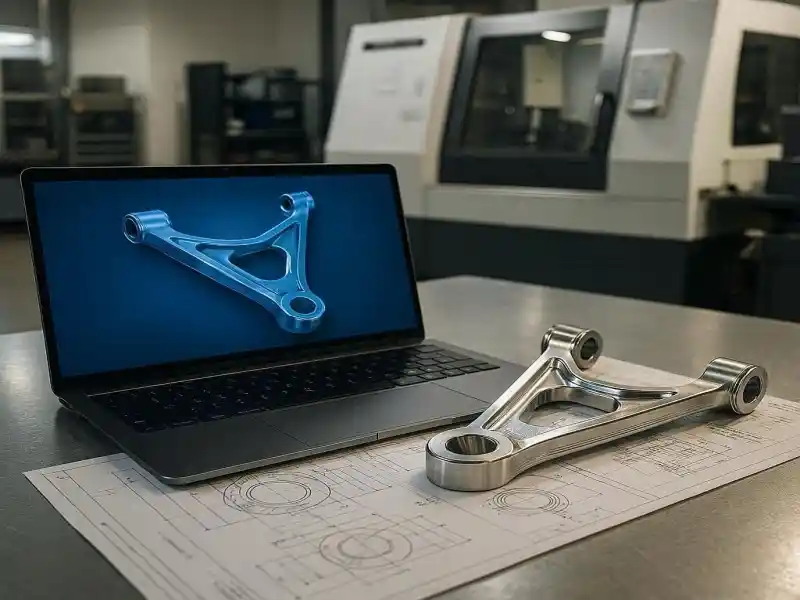
Do you have a great idea for a new suspension link or a custom light bracket but don’t know the next step? Sending the wrong file type or forgetting a simple measurement can lead to parts that don’t fit.
The best way is to provide a STEP or IGES file along with a 2D PDF drawing that highlights critical tolerances. Starting with a single prototype allows you to verify the fit on the vehicle before committing to a larger production run, saving time and money.
At Ranglink, I see drawings every day. The most important thing I tell my clients is that STEP files are our universal language. While some shops send STL files¹, those are for 3D printing² and often cause errors in CNC software. If you only have a hand-drawn sketch, we can work with it, but we have to rebuild the 3D model from scratch. This takes extra time and adds to your initial cost.
Another big hurdle is tolerances. I once received a drawing for a custom hub spacer with no tolerances, just a note saying “make it fit tight.” That is very risky. In my shop, I prefer to call the customer and ask: “Which surface touches the axle? Which one is just for looks?” I then help add professional tolerances³ to the drawing. This ensures the part works as intended without making the non-essential areas unnecessarily expensive.
| Step | Action | Why it matters |
|---|---|---|
| 1 | Export to STEP | Prevents data loss and geometry errors. |
| 2 | Mark Critical Fits | Tells the machinist where precision is a “must.” |
| 3 | Order 1 Sample | Verifies real-world fitment before spending big. |
| 4 | Final Batch | Scale up once the design is proven on the trail. |
What is the best material for custom 4×4 off-road parts?
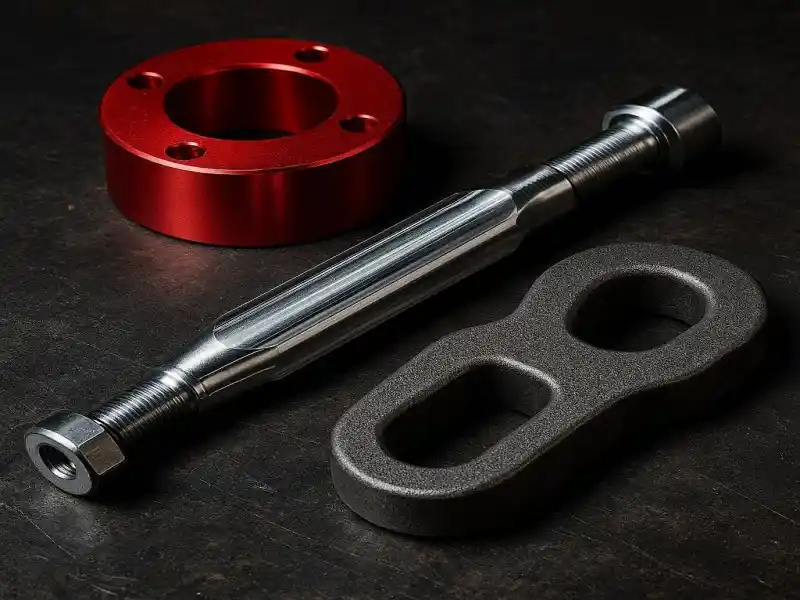
Are you confused about whether to use aluminum or steel for your new winch mount or control arm? Choosing the wrong material can lead to a part that is either too heavy or snaps under pressure.
6061-T6 aluminum is the best all-around choice for non-structural parts, while 7075-T6 is ideal for high-stress suspension components. For parts that face heavy rust or need welding, 304 stainless steel or 4140 chromoly steel provide the necessary durability and strength for extreme environments.
I often call 6061-T6 the “Jack of all trades” for the 4×4 world. It is lightweight, resists corrosion, and looks great after anodizing⁴. If you are making light brackets or interior dash panels, this is your go-to. However, if you are designing steering knuckles⁵ or suspension arms, I will suggest 7075-T6. It has the strength of steel but stays light. Just remember, 7075 cannot be welded easily, so your design must be purely bolt-on.
When it comes to steel, I see many people default to 304 stainless. If you aren’t welding the part, I actually recommend 303 stainless. It contains sulfur⁶ which makes it much easier to machine. This results in a better surface finish and a lower price for you. For the heavy-duty stuff like tow hooks or roll cage bungs, 4140 chromoly is the gold standard. It handles impact and fatigue⁷ much better than aluminum when weight isn’t the primary concern.
Common 4×4 Material Comparison
| Material | Best For | Pros | Cons |
|---|---|---|---|
| 6061-T6 Alum | Brackets, Spacers | Cheap, easy to finish | Lower strength |
| 7075-T6 Alum | Steering, Links | High strength/weight | Expensive, no welding |
| 303 Stainless | Bushings, Pins | Rustproof, nice finish | Harder to weld |
| 4140 Steel | Axles, Tow Points | Extreme toughness | Heavy, needs coating |
Is billet CNC machining stronger than cast or welded 4×4 parts?
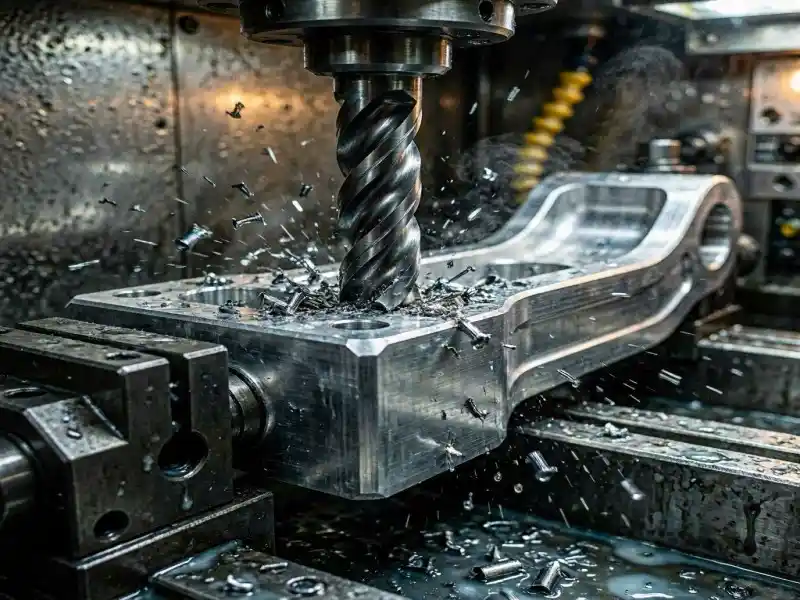
Do you wonder why “billet” parts carry such a high premium in the off-road community? You might be asking if the extra cost actually translates to a part that won’t break in the middle of a desert.
Billet CNC parts are generally stronger because they are machined from a single solid block of material with a consistent grain structure. Unlike castings, they have no internal air bubbles, and unlike welded parts, they lack weak heat-affected zones that can crack under heavy vibration.
The strength of billet comes from how the raw material is made. We start with a forged or extruded block where the internal structure is very dense. When I machine a suspension part from a billet, I am preserving that integrity. Cast parts often have tiny hidden holes called “porosity⁸” that can fail under sudden shock. Welded parts are great, but the area right next to the weld becomes brittle. Billet parts avoid these “weak links,” making them perfect for high-stress 4×4 applications.
However, “billet” isn’t a magic word that fixes a bad design. I always tell my customers to avoid sharp 90-degree internal corners. A sharp corner is where a crack will start, no matter how strong the material is. I always suggest adding a 3mm to 5mm radius⁹ (round corner) to high-stress areas. This small change doesn’t cost extra to machine but it makes the part last much longer on the trail. It is about combining the best manufacturing process with smart engineering.
How much does it cost to CNC machine custom car parts?
Are you worried that custom CNC machining is only for professional racing teams with huge budgets? Many shop owners think they have to order a thousand pieces to get a fair price, but that isn’t true anymore.
CNC costs depend on material price, machining time, and setup fees. While a single prototype is expensive because of the initial programming, ordering small batches of 10 to 20 units significantly lowers the per-part cost by spreading the setup labor across more pieces.
There are “three mountains” that affect your price: material, complexity, and quantity. If you choose titanium¹⁰ over 6061 aluminum, the price might jump ten times. If your design has complex curved surfaces that require a 5-axis machine¹¹, the labor cost goes up. The biggest factor is the setup. It takes me the same amount of time to program the machine and prepare the tools for 1 part as it does for 50 parts. This is why the first piece is always the most expensive.
To save money, I have two professional secrets. First, try to design your parts so they can be made in one or two “setups.” If a machinist has to flip the part five times, the price climbs. Second, be smart with tolerances. Don’t ask for +/- 0.01mm on a part that just holds a light bar. If you allow a looser tolerance of +/- 0.1mm on non-critical areas, I can run the machine faster and charge you less. At Ranglink, we specialize in these small “bridge” batches of 5-50 pieces, helping you test the market without a massive investment.
Conclusion
Getting custom 4×4 parts requires clear CAD files, the right material choice, and smart small-batch ordering. Partnering with a shop like Ranglink ensures your designs become trail-ready reality.
Ready to start your next project?
Whether you need high-precision batch production or expert advice on the best machining path, I am here to help.
Contact me today for a fast quote:
Email: info@ranglink.com
WhatsApp: Message us on WhatsApp
- Overview of the STL file format commonly used for 3D printing.
- Comprehensive guide to 3D printing and additive manufacturing technologies.
- Explanation of engineering tolerances and their importance in manufacturing.
- Technical details on the anodizing process for surface finishing aluminum.
- Information on steering knuckles and their function in automotive suspensions.
- Details on how sulfur is used to create free-machining steel alloys.
- Engineering definition of material fatigue and structural failure over time.
- Explanation of porosity and common defects found in cast metal parts.
- Engineering principles behind using a radius or fillet to reduce stress concentration.
- Properties and machining characteristics of titanium metals.
- Information on multiaxis machining and 5-axis CNC capabilities.